
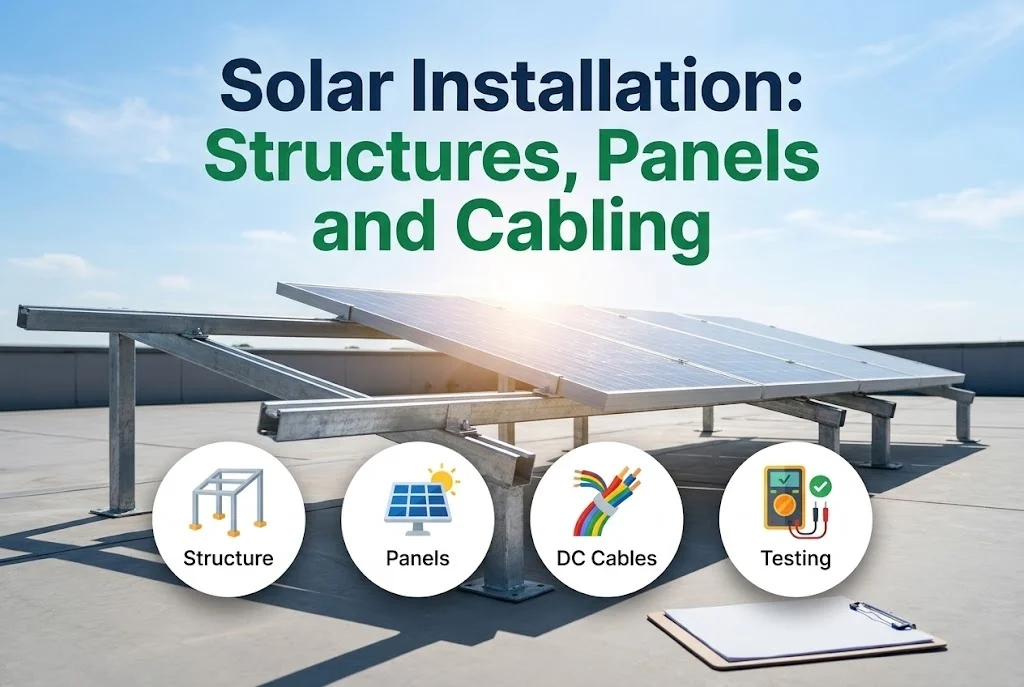
A solar system lasts for many years in sun, wind and rain, and most of its problems later trace back to how it was installed. Careful work on the structure, the panels and the cabling is what prevents them.
This guide follows the order of work on a typical roof.
Key takeaways
- The structure is set out and levelled before any panel goes on.
- Panels are clamped to the specified torque and not walked on.
- DC cables are fixed, protected from sun and sharp edges and kept tidy.
- The work is checked before the system is switched on.
The order of work
The installation follows the plan from the site survey. The main steps are:
- Mark out the structure and fix the foundations or the roof fixings.
- Assemble and level the steel structure.
- Fit the panels and clamp them in rows.
- Run the DC cables and connect the strings.
- Mount the inverter and run the AC cables to the panel board.
- Test, commission and hand over.
The structure and the panels
A level, well-fixed structure keeps the panels at the right angle and stops them moving in the wind. Fixings are tightened to the maker’s torque, and where they pass through a roof they are sealed so that the roof stays waterproof. Panels are carried by two people, by the frame, and are never stepped on.
The cabling
- Solar DC cables are used, with connectors of the matching type and make.
- Cables are clipped or run in trays so that they do not hang or touch sharp edges.
- Cables are kept out of standing water and out of direct sun where possible.
- Each string is identified, so that later checks are easy.
Before switch-on
Before the system is started we check the polarity and the voltage of every string, the earth connections and the protection devices, and we record the results. See earthing and protection and connecting inverters, batteries and UPS.
When to call us
Our team installs and tests the system to the plan. Use the quote page, see our installation services, or look at the mounting structures and solar panels we supply.

Leave a comment